Presentation maker
You have a few slides and need steady narration across them.
Test a single sentence first, then keep the same voice and speaking pace for every slide. For another script-checking route, see google text to speech.
Voiceover guide
Canva text to speech can mean generating a voiceover in an available app or importing audio made elsewhere. Start with a short script, then choose the route your design supports.

Before choosing a text to speech route, check your design type, prepare the words you want spoken, and leave room to review the result.
A static graphic is not a useful destination for a timed voiceover. Open a video or presentation design if the narration needs to play alongside visuals.
What to do instead
Choose an audio-capable design before writing a long script.
Available apps, controls, voices, and export options can vary. A text to speech tool described in one tutorial might not appear in your editor.
What to do instead
Check the Apps search and your design’s audio controls; generate a separate audio file if needed.
Names, acronyms, and sentence breaks can sound wrong even when the written script looks correct.
What to do instead
Test one paragraph first, then revise spelling and punctuation before generating the full narration.
Here is a text to speech workflow for a short narrated presentation. The import route also works when you cannot find a suitable voice app in Canva.
Open a presentation or video design. Write one or two sentences per scene and read them aloud to estimate pacing. Keep a copy of the exact text outside the design so revisions are easy.
Search Canva’s Apps for an available text to speech option, or generate an audio file with Text To Speech. Listen for mispronunciations, silence, and unnatural pauses before committing to the whole script.
Add the generated voiceover through the available app or upload the audio file to an audio-capable design. Move or trim clips to match each scene, preview the full sequence, and check that any background music does not mask the words.
If the voice or file needs another pass, these guides cover nearby choices without changing the basic script-first workflow.
The useful distinction is where the speech is generated. Either route still needs a full playback check in the finished design.
| Available Canva app | External audio file | |
|---|---|---|
| Starting point | Find an applicable voice app in Canva’s Apps search. | Generate speech separately, then bring the file into Canva. |
| Voice selection | Depends on the app currently available. | Depends on the generator used outside Canva. |
| Script edits | Change the text in the app and generate again. | Edit the source script, regenerate, and replace the audio. |
| File handling | Follow the app’s method for adding audio to the design. | Upload a supported audio file to an audio-capable design. |
| Timing | Preview placement using the controls the app provides. | Place and trim the imported clip on the design timeline. |
| Best fit | A convenient route when a suitable app appears in your editor. | A flexible fallback when you want to prepare and review speech first. |
Different projects call for different checks before you settle on a voiceover route.
You have a few slides and need steady narration across them.
Test a single sentence first, then keep the same voice and speaking pace for every slide. For another script-checking route, see google text to speech.
You want to hear source notes before turning them into slides.
Listen for confusing passages, shorten the script, and only then place narration in the design. Compare speechify text to speech for a reading-focused approach.
Your visuals change quickly and the spoken lines must fit each scene.
Generate short clips instead of one long file; choosing among text to speech voices can help keep delivery consistent.
You need spoken content that remains understandable without relying on the visuals.
Write self-contained descriptions and listen for meaning as well as pronunciation. The guide on how do I turn text to audio covers the file-first route.
A script can be correct on screen yet hard to follow when spoken. Treat the visual comparison as a reminder to preview the entire design, not as proof that a particular voice will work.

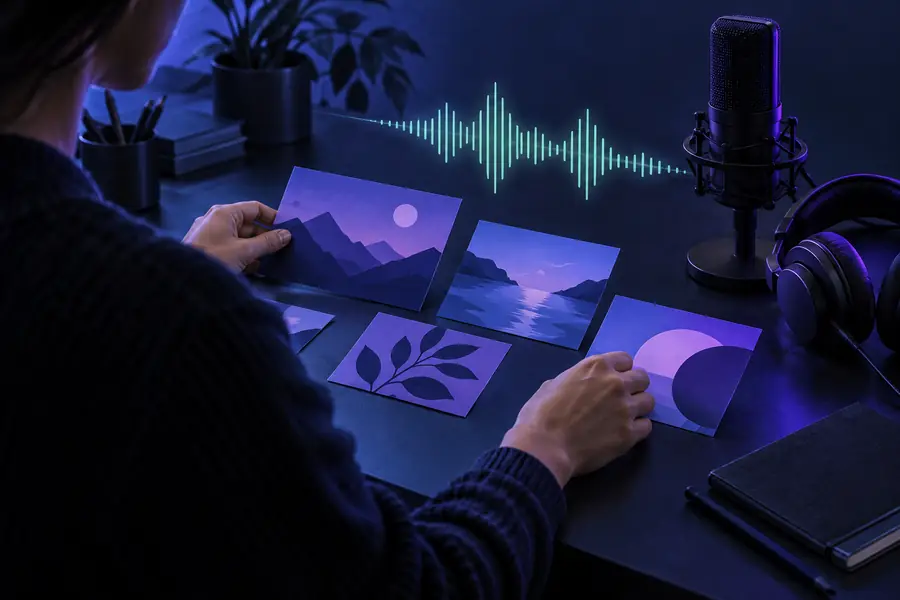
The images illustrate stages of review, not a guaranteed Canva result. If speech runs past a scene, shorten the sentence or adjust the scene timing; if a word sounds wrong, revise the script and generate that clip again.
Script without a playback checkVoiceover reviewed with visualsGenerate a short text to speech sample with Text To Speech, listen for clarity, and use the resulting audio with an appropriate design if the file and editor are compatible.
Open a video or presentation design and look for an applicable voice option in Apps. If none suits your project, generate speech separately and upload a compatible audio file. Preview the design to check placement and timing.
Voice-generation options can depend on the apps available in your editor and the type of design you opened. Check the current Apps search rather than assuming a particular voice or control will be present. An external audio file is a fallback when the available options do not fit.
An audio-capable presentation or video design may allow you to upload a supported audio file and place it with your visuals. Check the upload and playback controls in your editor, then listen through the finished sequence before exporting.
The spoken clip may be longer than the scene, or it may start at the wrong point in the timeline. Shorten the script, split the narration into smaller clips, or adjust scene timing. Preview from the beginning after every change.
Try a phonetic spelling in the script and test the troublesome word in a short sample. Punctuation can also change where the voice pauses. Keep the visible slide text spelled correctly if you alter only the narration script.